Line 1/Line 2 Setup

The Line Setup tabs give detailed information about the VoIP network and may be switched between Standard and Advanced view. The default view is Standard, and may be changed by clicking the button shown below:

Settings for Line 1 and Line 2 are identical.

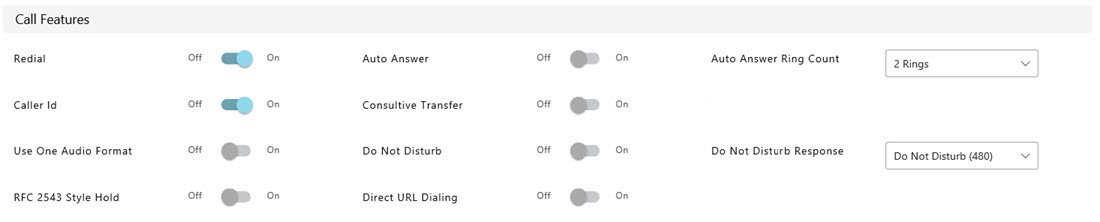
In Standard view, a user will have the option of configuring a SIP Config tab, Features and Dial Plan settings. In Advanced view, the user is given additional options under these tabs and the option of configuring Quality of Service, Network Address Translation (NAT) and Voice Features.

Features - Advanced View


 All settings in the Features tab of Standard view are also available in Advanced view. Settings in Advanced view are as follows:


Tones

Call Features

Saving/Applying Changes   When making changes, the user must make sure to apply changes in order for them to take affect. Clicking save changes will not apply the configuration changes to the VoIP card, but rather save them in a memory cache. If a user saves changes and navigates away from the current tab, the changes are still stored. If changes are saved yet not applied and the device is rebooted, changes will be lost.   A user must click Apply Saved Changes to make the changes active.


Other settings that may be configured from Advanced View are as follows: For settings that may be configured from Line 1/Line 2 in Standard View, see the links follows: